

Why the DJI Osmo Nano Changed My Wedding Photography BTS Forever
After 14 years of shooting destination weddings worldwide, I can confidently say the DJI Osmo Nano has become my absolute favorite tool for capturing POV and behind-the-scenes content. This tiny, detachable camera has replaced my previous setup entirely—and after a full year of real-world use across weddings and photo shoots, I’m ready to share my honest, long-term review. This isn’t a sponsored post. I purchased the Osmo Nano the day it launched after seeing one compelling Instagram reel, and I’ve used it extensively ever since. In this DJI Osmo Nano review, I’ll cover everything: the good, the bad, image quality, mounting options, battery life, and tons of real wedding footage examples. If you’re a wedding photographer looking to elevate your behind-the-scenes game or create compelling POV content for Instagram and YouTube, keep reading.
What Makes the DJI Osmo Nano Different
The DJI Osmo Nano is essentially a miniature action camera that splits into two parts: a detachable camera unit and a screen unit. This modular design is what sets it apart. The camera unit can be placed almost anywhere thanks to its magnetic back and dedicated mounts, making it incredibly versatile for POV camera for wedding photographers needs. Unlike traditional action cameras, the Nano’s compact form factor allows you to mount it on your hat, chest, or directly onto your camera’s hot shoe without feeling bulky or intrusive. The camera features a 1/1.3-inch CMOS sensor—smaller than the 1-inch sensors found in cameras like the DJI Osmo Pocket 3, but still capable of impressive results for BTS content. It includes dual built-in microphones (though you can connect DJI Mic 2 for better audio), and it’s waterproof, which I’ve tested under both rain and waterfall conditions with zero issues. The real magic is in how this camera disappears into your workflow while capturing authentic, eye-level perspectives that traditional cameras can’t match.
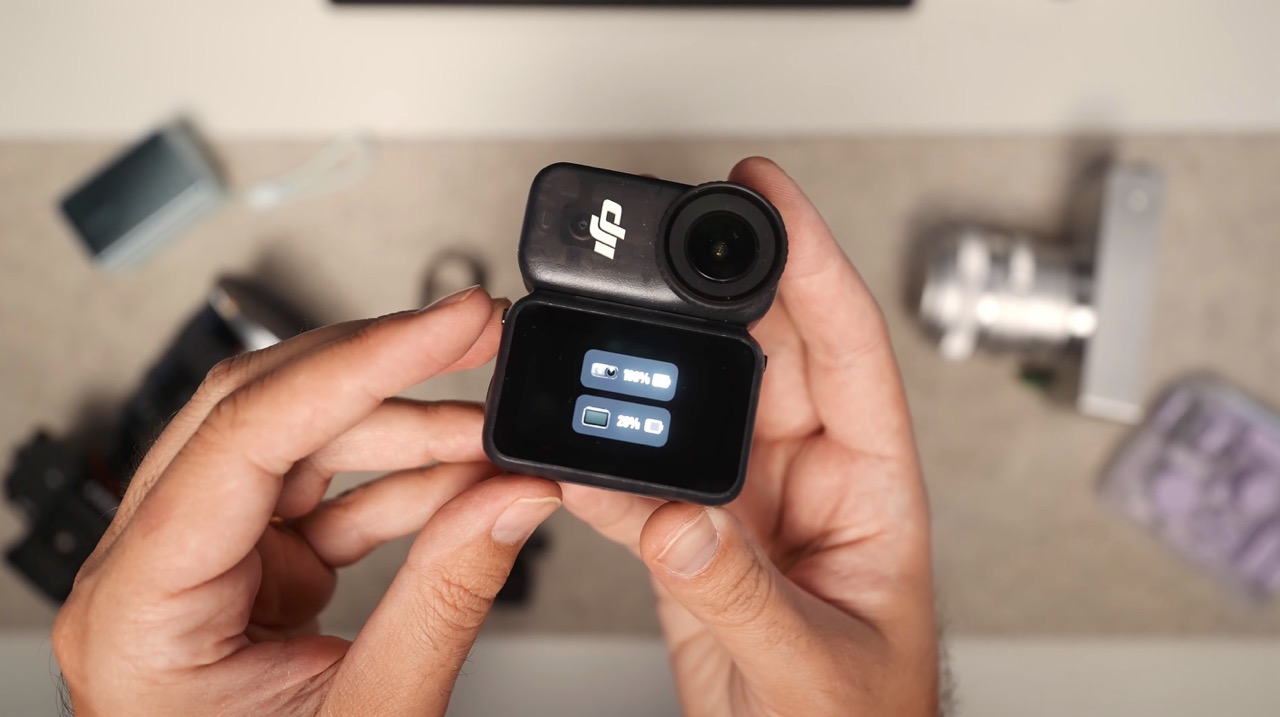
Image Quality Settings I Use for Wedding Content
My primary use case for the Osmo Nano is replacing my Ray-Ban Meta glasses footage, which, while convenient, produces only vertical 3-minute clips with mediocre quality. The Nano solves all these problems. I shoot in 4K resolution at 25fps (since I’m based in Europe) using a 4:3 aspect ratio. This format is crucial because it gives me flexibility to crop for both horizontal YouTube content (16:9) and vertical social media posts (9:16) without losing important framing. I enable Rock Steady stabilization, which crops the footage slightly and delivers a field of view equivalent to a 15mm lens – perfect for my POV shots. For color, I shoot in D-Log M format with texture set to minus 2, then apply DJI’s official LUT in post, followed by my own film conversion grading. The raw footage holds up very well even in challenging lighting conditions. I’ve captured usable footage at night, under harsh midday sun, and in mixed lighting at receptions. For a wedding photographer focused on educational content or social media growth, the DJI Osmo Nano image quality exceeds expectations. You’re not creating cinema – you’re creating authentic, engaging BTS content that connects with your audience.
Three Mounting Options for Different Wedding Photography Scenarios
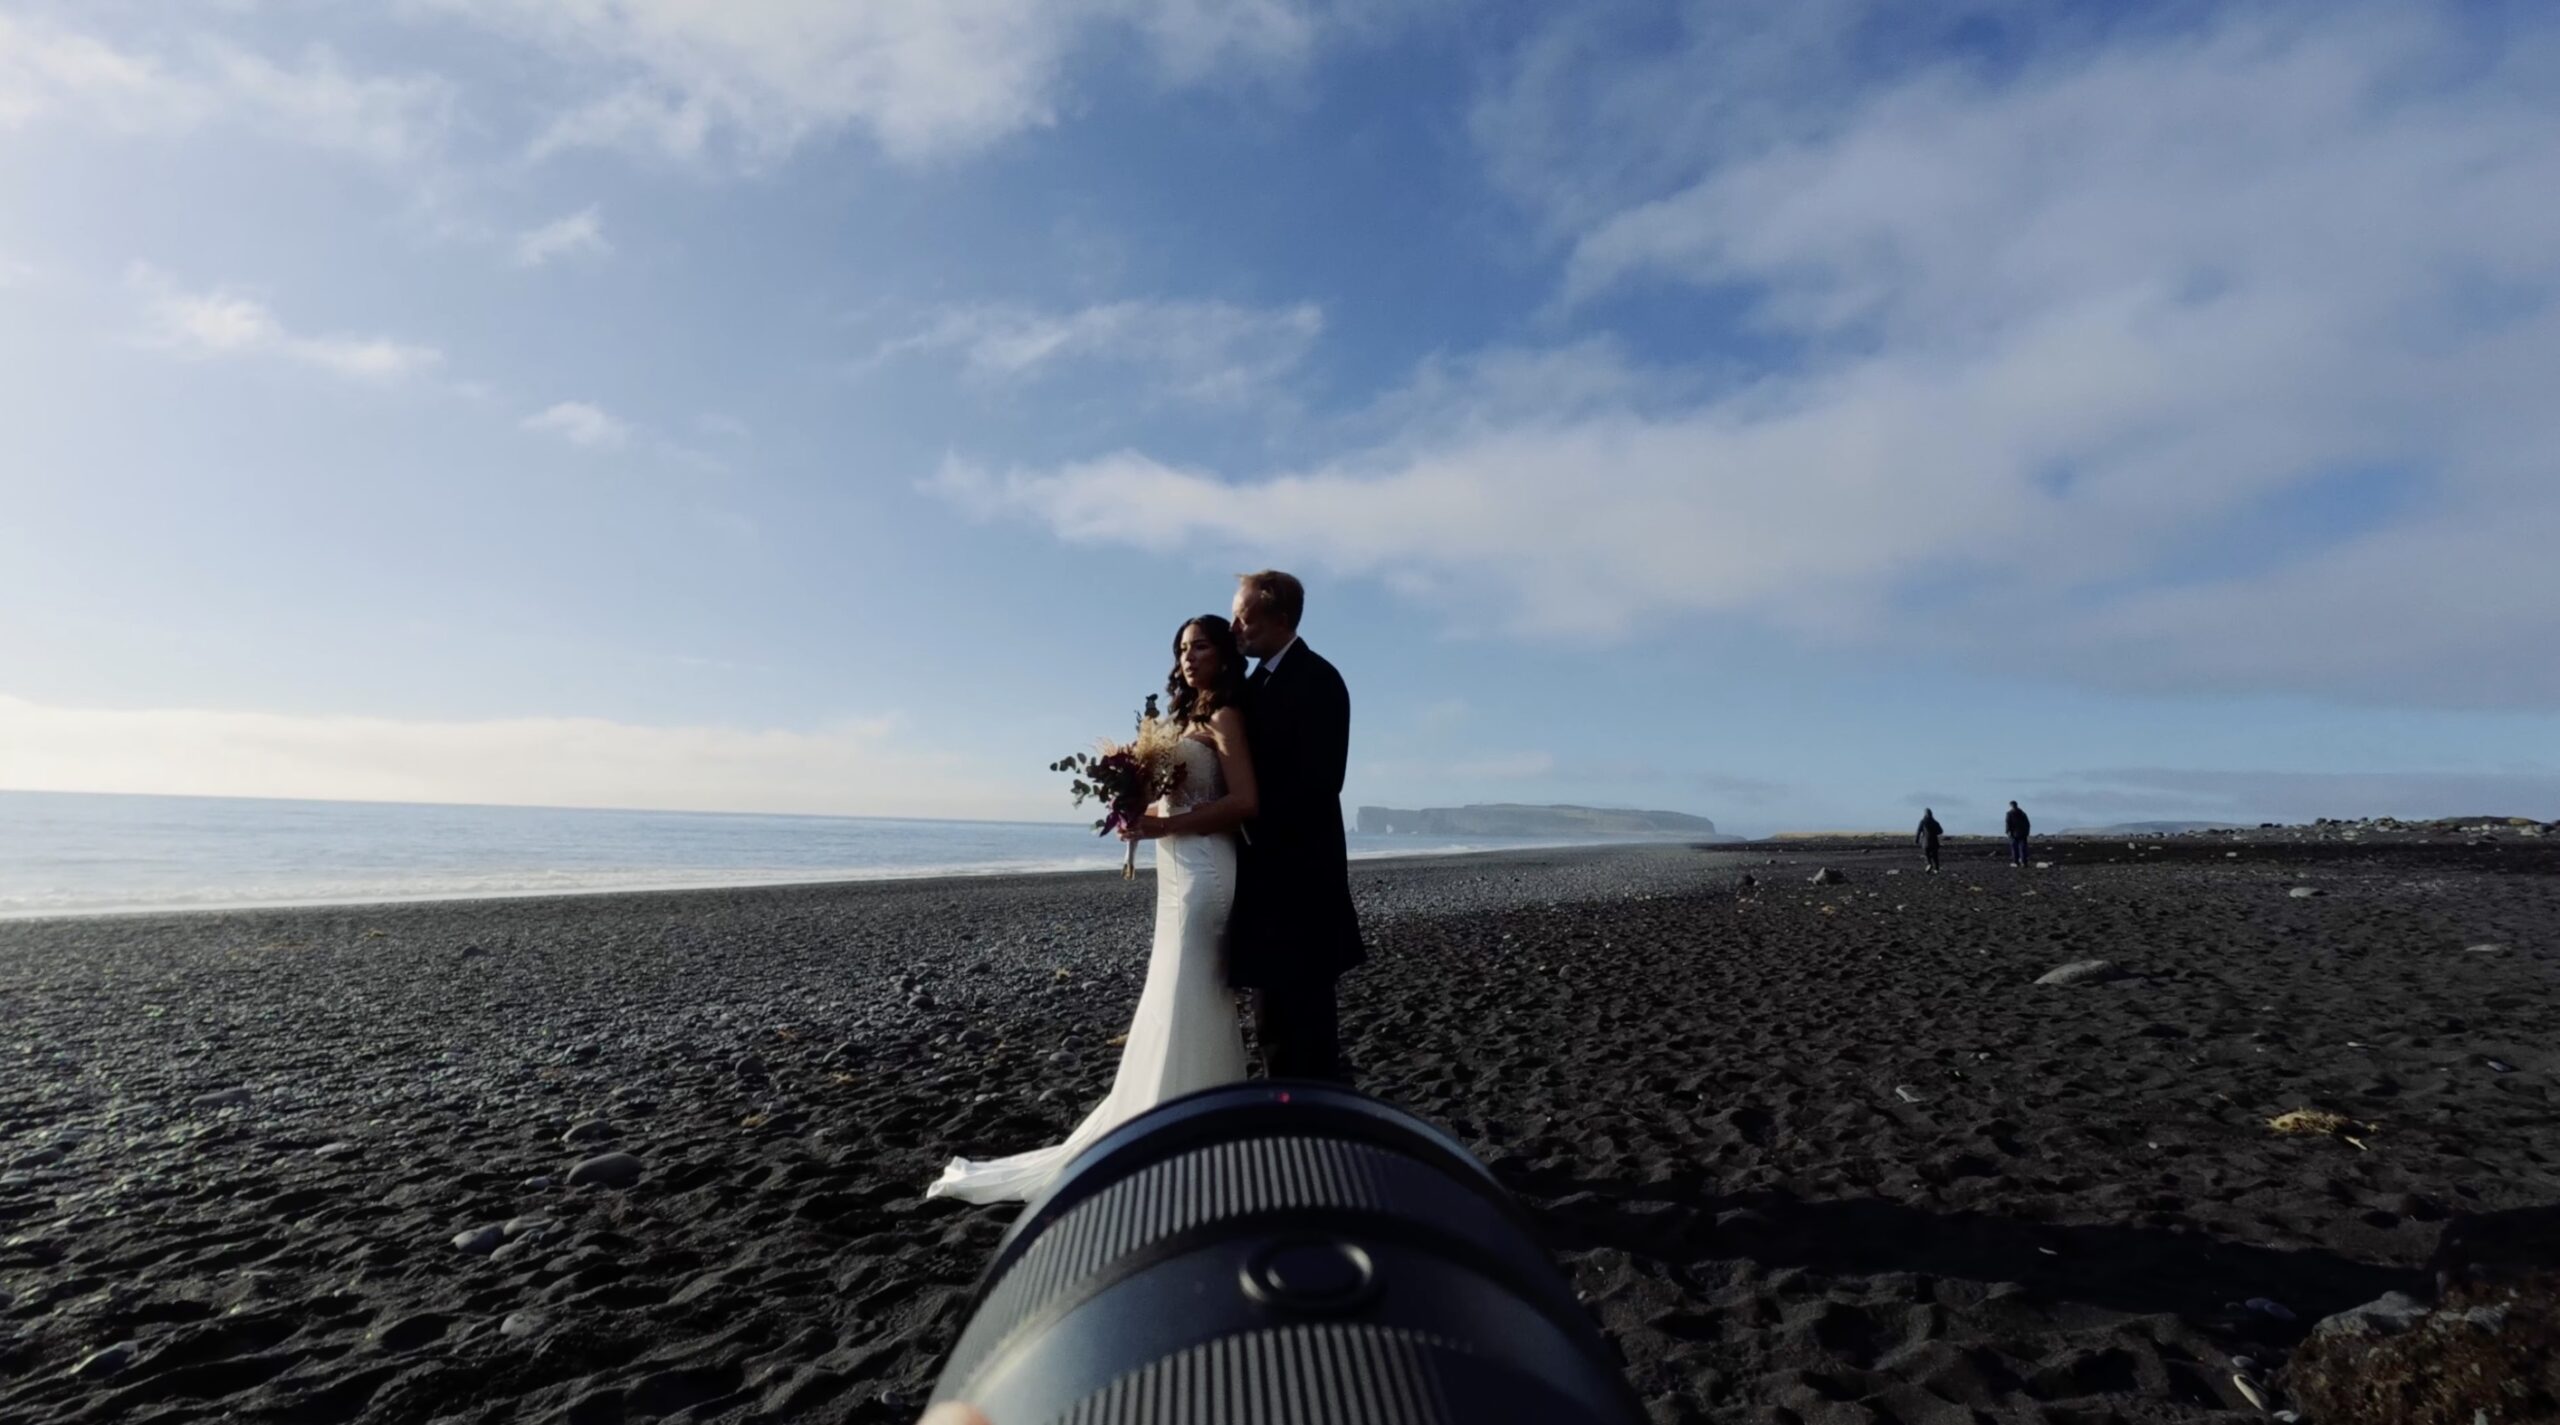
I’ve tested three primary mounting methods, each serving different purposes in my wedding photography workflow. First: the hat mount (included in the box). This delivers the most accurate POV perspective, showing exactly what my eyes see. It’s phenomenal for educational content because viewers can track where I’m looking, what light I’m drawn to, and how I move around a scene. The downside? The camera dangles in front of your face, slightly limiting peripheral vision, and it works best when shooting with your camera’s LCD screen rather than the viewfinder. Second: hot shoe mounting using a SmallRig action camera mount (not Osmo-specific, but it works). This produces the most visually appealing footage, showing your lens and camera in frame while capturing your shooting perspective. The mount I use allows swiveling to adjust how much of the lens appears in the shot. However, this method only works when shooting with a single camera – if you’re switching between two or three bodies at a wedding, the footage becomes unusable as the camera films the ground during transitions. Third: the magnetic chest pendant (also included). This is my most-used mounting method for actual wedding days because it works seamlessly with multiple cameras, doesn’t obstruct my vision, and I barely notice it’s there. The only limitation is that when using a viewfinder, I occasionally block the camera’s view, though the footage still turns out great.

Real-World Battery Life and Storage Limitations
Let’s talk about the practical challenges you’ll face with the Osmo Nano. Battery life is my biggest concern. With my settings (4K, 25fps, Rock Steady on), the camera unit records for approximately 45 minutes before requiring a recharge. You must attach it to the screen unit to charge – there’s no standalone charging option. The good news? It charges to 80% in about 15 minutes, so quick breaks during shoots allow for top-ups. If you need longer runtime, endurance mode lowers the bitrate and extends recording past an hour. My second regret is purchasing the 64GB version instead of the 128GB model. The camera unit has only built-in storage (no SD card slot – that’s in the screen unit). At 4K 25fps, 64GB holds roughly 58 minutes of footage before you must connect to the screen unit and transfer files to the SD card to continue recording. This transfer process takes time and adds friction to your workflow. Knowing what I know now, I’d absolutely spend the extra money for 128GB just for peace of mind. For reference, I’ve never experienced overheating issues – even during a full 45-minute hike in direct South African sun, the battery died before any heat-related shutdowns occurred.
How the Osmo Nano Fits Into Your Wedding Photography Workflow
The beauty of the DJI Osmo Nano is how seamlessly it integrates into different shooting scenarios. On wedding days, I mount it on my chest using the magnetic pendant because I’m constantly switching between two or three camera bodies. It captures authentic moments without getting in my way or appearing in reflections. For educational YouTube content or couple shoot tutorials, I switch to the hat mount to give viewers the exact perspective I’m seeing – where I’m looking, how I’m positioning myself, and what light I’m chasing. When I’m testing a single camera (like when I reviewed the Canon R6 Mark III), I use the hot shoe mount for that beautiful, lens-visible POV that looks incredibly engaging on social media. The 4:3 aspect ratio workflow is brilliant: shoot once, crop twice. I export a 16:9 version for YouTube and a 9:16 vertical cut for Instagram Reels and TikTok. This eliminates the need to shoot separate horizontal and vertical footage. For color grading, I simply apply DJI’s LUT and my standard film conversion preset – the D-Log M footage holds up beautifully with minimal effort.
Frequently Asked Questions About the DJI Osmo Nano
Is the DJI Osmo Nano worth it for wedding photographers?
Absolutely, especially if you’re creating behind-the-scenes content for Instagram, YouTube, or client teasers. The image quality is excellent for BTS purposes, and the three mounting options give you incredible flexibility. Just be aware of the 45-minute battery life and consider the 128GB version for longer shoots.
Can you use the DJI Osmo Nano on Sony cameras?
The magnetic attachment works on Canon cameras’ hot shoes, but not on Sony because Sony uses aluminum hot shoes which aren’t magnetic. However, you can use third-party mounts like the SmallRig action camera mount to attach the Osmo Nano to any camera brand, including Sony, Nikon, and Fujifilm.
What aspect ratio should wedding photographers shoot with the Osmo Nano?
Shoot in 4:3 aspect ratio at 4K resolution. This gives you maximum flexibility to crop into 16:9 for YouTube and horizontal content, or 9:16 for Instagram Reels and TikTok, without losing important framing. It’s the most efficient workflow for multi-platform content creation.
Does the DJI Osmo Nano overheat during long wedding shoots?
In real-world testing, overheating hasn’t been an issue. Even during a 45-minute continuous recording session in direct sunlight, the battery depleted before any heat-related shutdown occurred. The 45-minute battery life is the actual limiting factor, not overheating.
Final Verdict: The Best POV Camera for Wedding Photographers
After a full year of real-world use, the DJI Osmo Nano has earned a permanent place in my wedding photography toolkit. It’s replaced my Rayban Meta glasses for BTS content and delivers the authentic, engaging POV footage that resonates with both clients and fellow photographers. Yes, the 45-minute battery life requires planning, and I wish I’d bought the 128GB version, but these are minor inconveniences compared to the creative freedom this tiny camera provides. If you’re serious about growing your social media presence, creating educational content, or simply documenting your wedding photography process in a compelling way, the Osmo Nano is an excellent investment. Watch the full video above to see extensive real-world footage examples, and explore more wedding photography gear reviews on my channel to continue leveling up your toolkit.
Additional Links and Resources
🛒 I edit all of my photos using my signature Magicadabra Presets — grab the full bundle with the editing masterclass Presets + Editing Masterclass ($79)